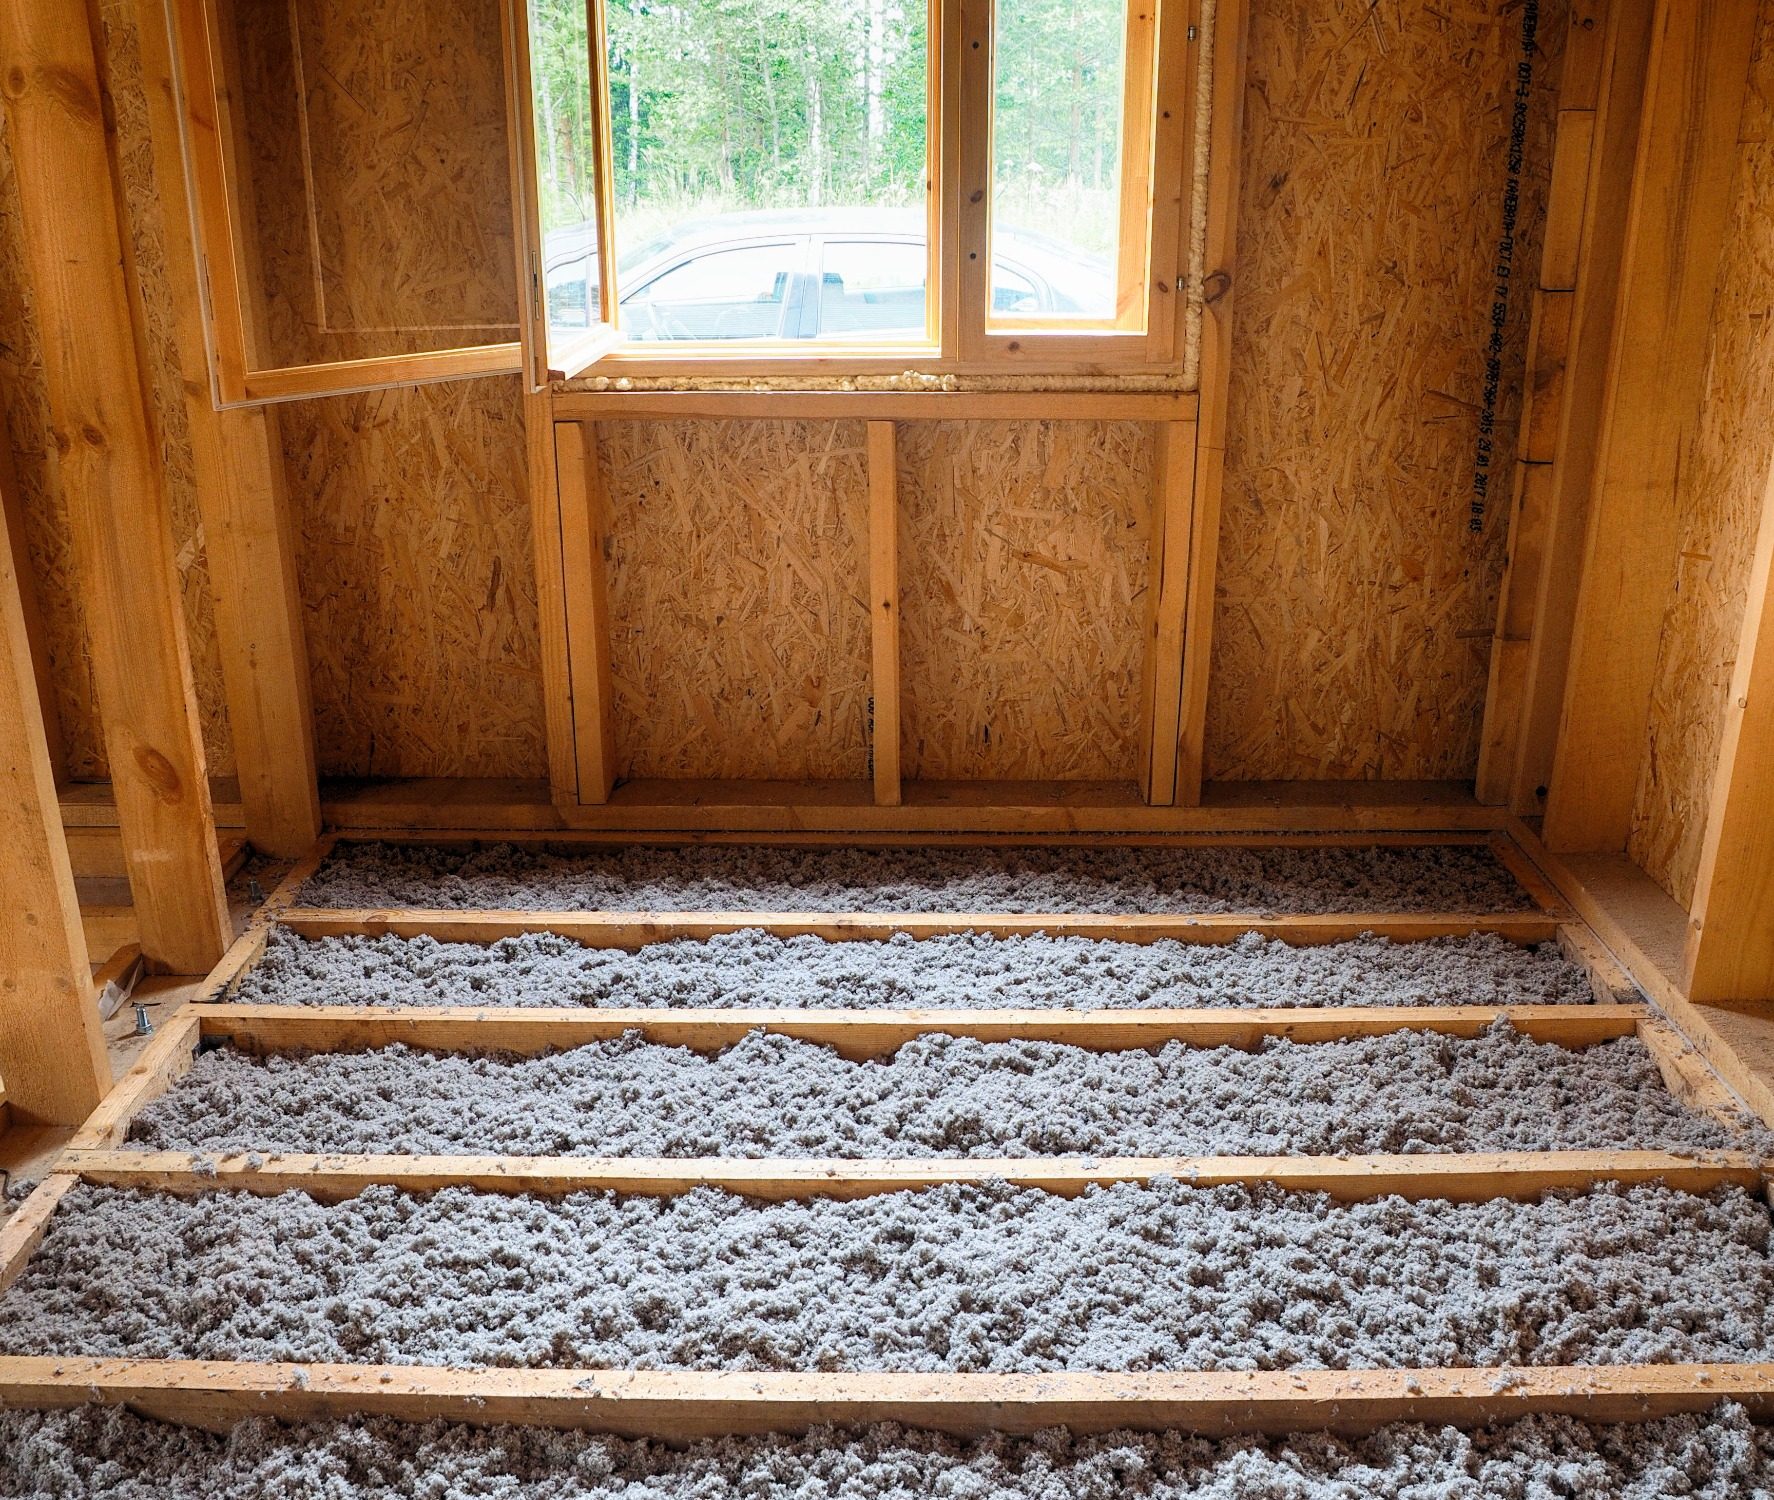
Are you noticing clumps of Brown insulation in your attic space? Do you find yourself wondering about its purpose and where it came from? Although this type of insulation may seem intimidating, understanding the product can be incredibly rewarding.
Insulation plays an important role when it comes to making sure our homes stay securely sealed against the elements and remain comfortable year-round. Here we will dive into everything there is to know about Brown insulation including what types are available, what kind of protection they offer, and how to properly install them.
Keep reading to become an expert on all things Brown within your home’s attics!
The Difference Between Brown and White Insulation
Now, let’s discuss the difference between Brown and White insulation, which lies primarily in their composition. Brown insulation typically refers to cellulose insulation, which is an environmentally friendly option, made from recycled paper products, treated for fire resistance, and dyed brown for identification. It is often used in loose-fill insulation and has a high R-value.
On the other hand, white insulation commonly refers to fiberglass insulation, which is made from fine strands of glass. It is light in weight, non-combustible, and non-absorbent, and comes in both batt and loose-fill forms. This type of insulation is white or yellowish-white in color.
It’s important to note that while both types of insulation serve the same purpose—to maintain a constant temperature within your home—they differ in their materials, R-values, and application methods. Always consider the specific needs of your home and consult with a professional before deciding on the type of insulation to use.
What Is Brown Insulation Made Of and How Does It Work
Brown insulation, often identified as cellulose insulation, is primarily made from recycled paper products. This includes newspaper, cardboard, and other forms of waste paper. To make the insulation fire-resistant and suitable for home installation, the recycled paper is treated with boric acid or other fire-retardant chemicals. Furthermore, a brown dye is added for easy identification.
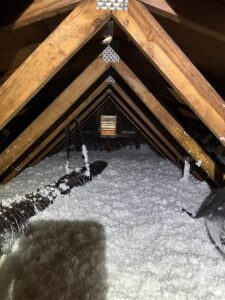
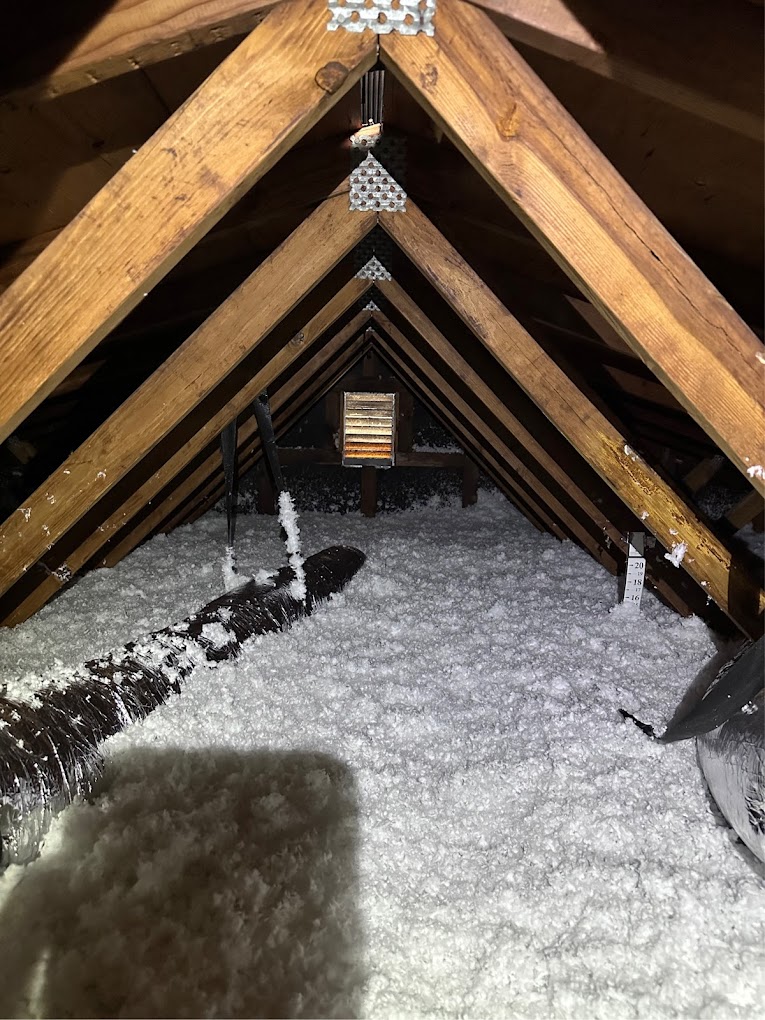
The functioning of brown insulation relies on its high thermal resistance or R-value. The loose-fill form of brown insulation allows it to be blown into cavities and hard-to-reach areas in the attic, filling them. This creates a dense, blanket-like layer that traps air within its structure, reducing the amount of heat that can pass through it.
Consequently, during winter, the warmth from the heating system stays within the house, and in summer, the heat from outside is blocked from entering the house, maintaining a comfortable and constant temperature inside the house year-round.
Factors to Consider When Choosing Brown Insulation
When choosing brown or cellulose insulation for your attic, there are several factors to consider.
1. Thermal Performance: Cellulose insulation has a high R-value, meaning it provides excellent resistance to heat flow. However, thermal performance can be affected by installation, so ensure it is installed correctly to achieve its full thermal potential.
2. Environmental Impact: Brown insulation is an environmentally friendly choice as it’s made from recycled paper. If sustainability is a priority for you, cellulose insulation is an excellent choice.
3. Fire Resistance: Brown insulation is treated with fire-retardant chemicals. Make sure the product you choose has been thoroughly treated to ensure maximum fire resistance.
4. Moisture Control: Brown insulation can absorb moisture, which can potentially lead to mold growth and a decrease in insulating power. Ensure your attic has good ventilation and consider using a vapor barrier to prevent moisture accumulation.
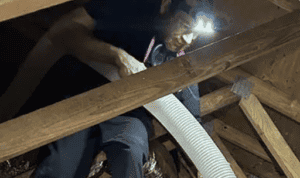
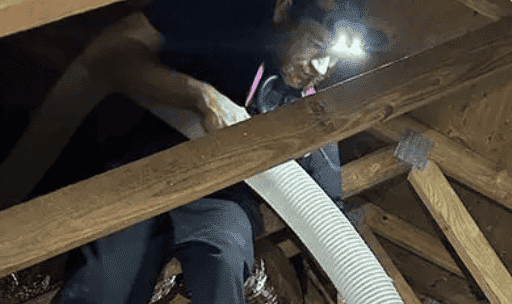
5. Installation: Brown insulation typically comes as loose-fill insulation, which requires a special machine to blow it into place. Consider whether you’re comfortable with DIY installation or prefer to hire a professional.
6. Cost: While cellulose insulation is relatively inexpensive, the cost of installation can add up, especially if you hire a professional. Consider your budget when making a decision.
Remember, it’s essential to weigh these factors based on your specific needs and circumstances. Consulting with an insulation professional can provide further guidance tailored to your home’s specific needs.
Do-It-Yourself Installation Instructions for Brown Attic Insulation
If you’re up for the task, installing brown or cellulose insulation in your attic can be a DIY project. Here’s a step-by-step guide on how to go about it:
1. Safety First: Before you begin, ensure you’re properly equipped for the job. This includes wearing a dust mask, safety goggles, gloves, long sleeves, and long pants to protect your skin and eyes from small particles.
2. Preparation: Clear the attic space of any items that may be in your way during installation. Carefully inspect the area for any existing insulation that is damaged or damp and needs to be removed. Also, check for any air leaks and seal them before insulation.
3. Measure: Determine the required thickness of your insulation. This will depend on your desired R-value and the square footage of your attic space.
4. Rent or Buy Insulation Blower: You’ll need a machine to blow the loose-fill cellulose insulation into your attic. These can be rented from hardware stores, or bought if you prefer.
5. Loading the Blower: Follow the manufacturer’s instructions to load the cellulose insulation into the blower. Usually, this involves ripping open the insulation package and pouring it into the hopper.
6. Blow Insulation: Turn on the machine and start blowing insulation, beginning from the farthest part of the attic and working your way back towards the entrance. Aim to distribute the insulation evenly, covering all areas.
7. Check Depth: After blowing the insulation, check the depth to ensure it meets your calculated thickness. Add more insulation if necessary.
8. Clean Up: Once the insulation is installed, clean up any leftover materials and tools. Ensure no insulation particles are left in the living areas of your home.
Remember, while DIY attic insulation can be cost-effective, it requires proper planning and execution. If you’re unsure or uncomfortable with the process, consider hiring a professional. Moreover, you need to ensure proper ventilation in your attic to prevent moisture issues. Always follow safety precautions to protect yourself during the installation process.
About Us
Are you looking to install or upgrade your home’s insulation in Tampa Bay, Sarasota, and surrounding areas? TLS Insulation Installers is where to call! A family-owned and operated business serving the residents of South-West Florida for the last 20 years, we are consistently recognized for providing the highest-quality insulation services in the region.
We set high standards for our work, ensure personalized attention to every project, and fulfill our customers’ needs down to the smallest detail.
At TLS Insulation, we understand how important energy efficiency and sustainability are for modern homeowners and strive to help them achieve them through world-class insulation.
Contact us today to get accurate cost estimates for your project and learn more about us.

