Removing blown-in insulation from your attic space is a complex removal process that can directly affect energy efficiency and utility bills. In the U.S., blown insulation (often fiberglass or cellulose insulation) is frequently used in attics, with over 70% of older homes relying on it.
However, it’s evident that outdated or old insulation can trap moisture, increase blown insulation cost over time, and lead to water damage.
Regarding how much it cost to remove blown-insulation from the attic? It depends on many factors but Blow in insulation removal averages cost $1–$2 per square foot, prompting homeowners to consider professional help.
Experts recommend protective gear, a commercial vacuum, and careful handling of asbestos insulation to ensure safety. Understanding how to remove blown in insulation or knowing when to replace blown in insulation ultimately prevents rising energy bills, maintains a healthier environment, and sets the stage for new insulation that better meets modern efficiency standards.
How to Remove Blown-in Insulation from Attic – A Step by Step Guide
Before you fold your sleeves and about to start, wait for a minute. DIY removing blown in insulation isn’t an easy job as it can present significant challenges, especially in highly humid areas like Florida and Louisiana, where water damage and mold growth are common.
These conditions require extra precautions to prevent respiratory issues and structural deterioration. In less humid regions, the primary concerns shift to managing dust and fiberglass fibers, necessitating comprehensive protective gear.
Additionally, water-damaged insulation demands more intensive insulation extraction, complicating the removal process. So, Understanding these regional challenges and equipping yourself with the right tools is crucial for the best way to remove blown in insulation and successfully replace blown in insulation with more efficient materials.
Prerequisites, Precautions, and Tools for Removing Blown-In Insulation
Before embarking on removing blown-in insulation, it’s essential to prepare adequately to ensure safety and efficiency. Here are the key prerequisites and tools you’ll need:
- Protective Gear: Respirators, gloves, coveralls, and eye protection to guard against fiberglass fibers and contaminants.
- Commercial Insulation Vacuum: A specialized commercial vacuum designed for insulation extraction to effectively remove loose-fill insulation.
- Basic Tools: Shovels, rakes, and hoses for attic cleaning and handling insulation materials.
- Safety Precautions: Ensure proper ventilation, secure access points, and be aware of asbestos insulation or mold growth before starting.
Step-by-Step Best Way to Remove Blown-In Insulation from Your Attic
Removing blown-in insulation from your attic requires meticulous planning, the right tools, and adherence to safety protocols to ensure both effectiveness and safety. So, it’s wise to consult a professional attic insulation contractor than taking things in your hands.
1. Conduct a Thorough Inspection
Inspecting your attic is crucial just like diagnosing a disease before its cure. Before initiating the blown insulation removal process, perform a detailed inspection of your attic space to assess the condition of the existing insulation and identify any underlying issues.
- Identify Moisture Issues: In humid states like Florida and Louisiana, water damage and mold growth are common due to high humidity levels. Look for discoloration, damp spots, or musty odors that indicate moisture infiltration.
- Check for Contaminants: Inspect for hazardous materials such as asbestos insulation or vermiculite insulation, which require professional handling. The Environmental Protection Agency (EPA) emphasizes that improper removal of asbestos can lead to severe respiratory diseases
- Evaluate Attic Construction: Assess the structural elements like ceiling joists, duct work, and open cavities. Homes with cathedral ceilings or intricate attic constructions may present additional challenges during removal.
You don’t have to Necessarily commit these Mistakes:
- Skipping Comprehensive Inspection: Overlooking hidden moisture or contaminants can lead to incomplete removal and recurring problems.
- Underestimating Structural Complexity: Failing to account for complex attic designs can result in inefficiencies and potential damage during removal. That’s why choosing the certified attic insulation cleanup and replacement contractor make the right sense
2. Gather Essential Tools and Protective Gear
Removing Insulation from the hand is always a bad idea. Proper preparation with the right tools and safety equipment is crucial for a successful and safe blown insulation removal project.
- Protective Gear: Equip yourself with respirators, gloves, coveralls, and eye protection to shield against fiberglass fibers, mold spores, and other contaminants. The Centers for Disease Control and Prevention (CDC) highlights that inadequate protection can lead to respiratory issues and allergic reactions
- Commercial Insulation Vacuum: It’s necessary, you know! Utilize a commercial insulation vacuum designed for insulation extraction. These powerful vacuums efficiently remove loose-fill insulation and cellulose insulation, ensuring thorough cleanup.
- Basic Hand Tools: Have shovels, rakes, and hoses ready for manual removal in hard-to-reach areas. These tools are essential for attic cleaning and handling stubborn insulation materials.
- Heavy-Duty Trash Bags: Use reinforced trash bags to safely contain and transport removed insulation, preventing contamination and facilitating easy disposal.
Don’t Commit these Mistakes:
- Inadequate Protective Gear: Neglecting proper safety equipment increases the risk of exposure to harmful materials.
- Using Improper Tools: Relying solely on basic tools without a commercial insulation vacuum can lead to incomplete removal and increased labor.
3. Set Up the Work Area
Creating an organized and safe workspace is essential for efficient blown insulation removal. Proper Ventilation is very important. So, ensure adequate airflow by opening windows and using fans, especially in humid regions like Texas and Georgia, where moisture issues are prevalent. Proper ventilation helps reduce the concentration of airborne particles during removal.
- Secure Access Points: Stabilize ladders and entry points to prevent accidents. Ensure that all access points are clear and unobstructed to facilitate smooth movement within the attic.
- Protect Surrounding Areas: Lay down drop cloths or plastic sheeting to contain debris and prevent it from spreading to other parts of your home. This step is particularly important in homes with open floor plans or adjacent living spaces.
These Mistakes led Disasters:
- Poor Ventilation: Inadequate airflow can increase exposure to contaminants and make the workspace hazardous.
- Unsecured Tools and Materials: For small attics. Leaving tools scattered can lead to injuries or accidental damage to structural elements like roof sheathing.
4. Begin the Insulation Removal Process
Don’t just start randomly as it’ll become a challenge. A systematic approach ensures thorough and efficient removal of blown-in insulation.
- Start from One End: Begin at one corner of the attic and work your way systematically across the space. This method prevents overlooking any sections and ensures consistent removal.
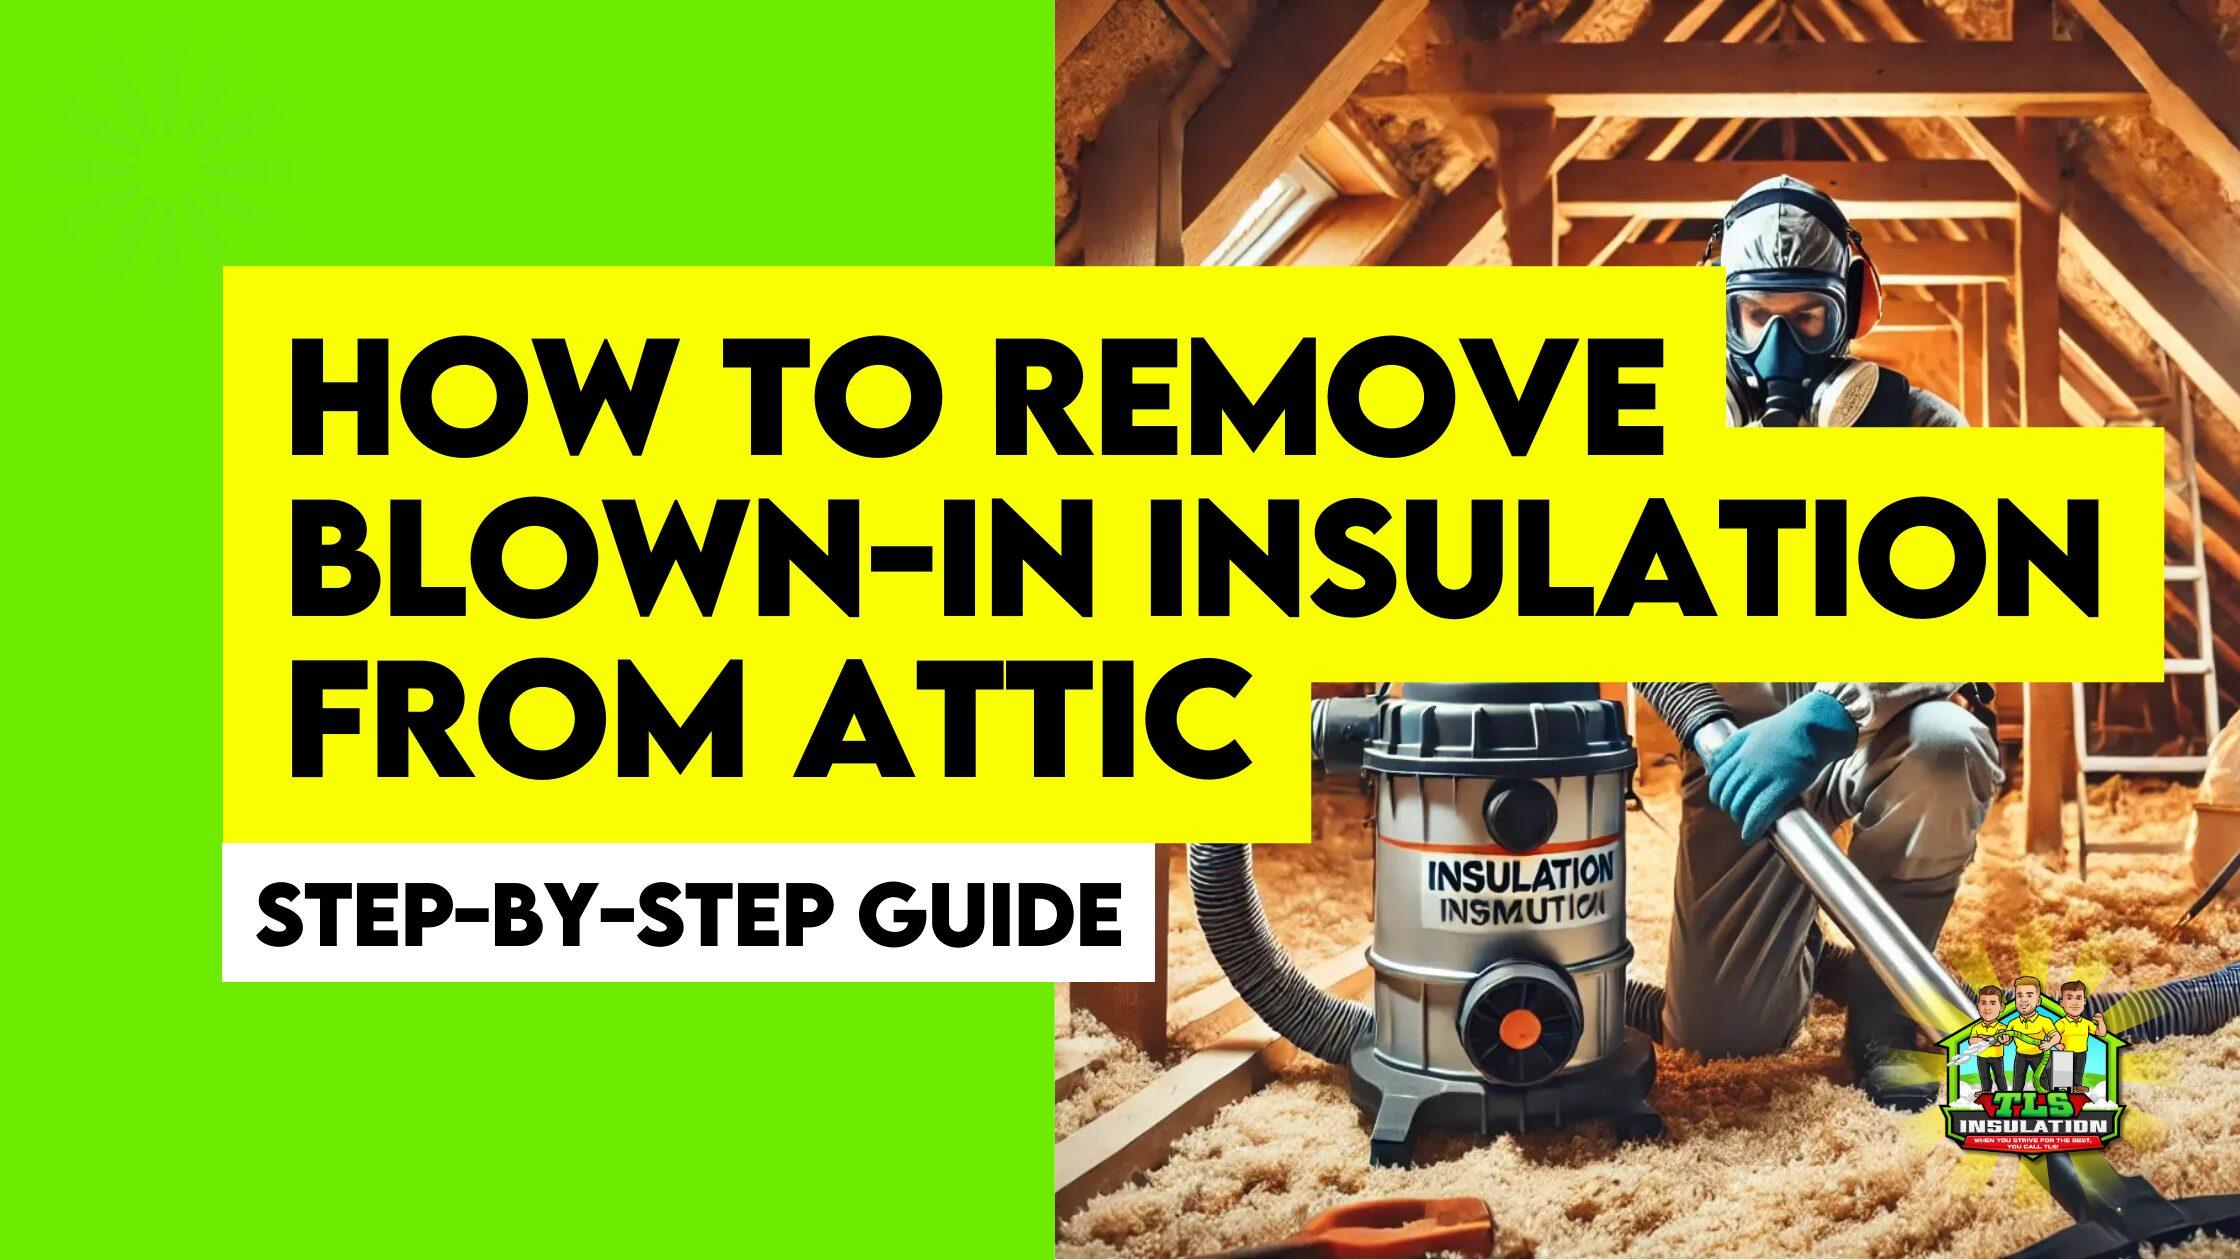
- Use the Commercial Vacuum: Connect the hose to the commercial insulation vacuum and secure it properly to maximize suction power. Slowly move the vacuum nozzle through the insulation, allowing it to extract loose-fill insulation efficiently. Pay special attention to areas around duct work and roof sheathing to ensure complete removal.
- Remove Large Clumps by Hand: For regions where the vacuum may struggle, use shovels or rakes to manually remove fiberglass batt insulation or cellulose insulation. Focus on small areas to maintain control and prevent spreading contaminants.
- Handle Water-Damaged Areas Carefully: In areas with water damage, take extra precautions to prevent further mold growth. Seal off affected sections and consider using anti-microbial treatments before proceeding with removal.
Avoid these Common Mistakes:
- Rushing the Process: Hastily moving the vacuum can result in incomplete removal and residual insulation, reducing energy efficiency.
- Ignoring Contaminants: Overlooking asbestos or mold can pose severe health risks and complicate the removal process.
5. Dispose of Removed Insulation Properly
Be an environmentalist. Disposal of old insulation materials is critical to comply with environmental regulations and maintain safety.
- Bagging the Insulation: Using Heavy-Duty Trash Bags is highly recommended. Securely seal the removed insulation in heavy-duty trash bags to contain fiberglass fibers and prevent contamination.
- Transport to Disposal Sites: Verify with your local municipality for guidelines on insulation disposal. Different states have varying rules, especially concerning hazardous materials like asbestos insulation. Similarly, explore recycling facilities that accept cellulose insulation or other reusable materials. Recycling can sometimes reduce disposal costs and environmental impact.
Don’t fall to these Common Mistakes:
- Improper Sealing: Failing to tightly seal bags can lead to the release of fiberglass fibers and contaminants into the environment.
- Non-Compliance with Regulations: Ignoring local disposal laws can result in fines and environmental harm.
6. Addressing Specific Scenarios
Different regions and attic conditions require tailored approaches to insulation removal to ensure effectiveness and safety.
- High Humidity Areas (e.g., Florida, Louisiana): You need to incorporate enhanced mold remediation in your blown-in insulation removal process. So for that purpose, utilize anti-microbial treatments with specialized Tools. For specialized tools, employ commercial insulation vacuums with HEPA filters to capture mold spores effectively, reducing health risks.
- Low Humidity Areas (e.g., Arizona, Colorado): For low humidity areas, dust management and temperature control is a crucial thing to look after. For dust Management, Implement efficient vacuum systems to minimize dust and fiberglass fibers in the workspace, enhancing air quality. Temperature Control means conducting removal during cooler parts of the day to maintain comfort and prevent overheating of equipment.
- Presence of Hazardous Materials: Removing blow-in Insulation isn’t pretty straightforward specially when you have some old-fashioned existing attic insulation. For instance, if you have Asbestos-Containing Insulation in your attic, taking help from certified professional blown-in Insulation company for safe removal and disposal is good practice, as mandated by the EPA.
Similarly for Vermiculite Insulation, conduct thorough testing before removal to determine the presence of asbestos and ensure complaint handling.
Common Mistakes which can create a mess:
- One-Size-Fits-All Approach: Not adapting the removal process based on regional climate and attic conditions can lead to ineffective removal and safety hazards.
- Neglecting Professional Help: Attempting to remove hazardous materials without expertise increases health risks and legal liabilities.
7. Final Cleanup.
After successfully removing the old insulation, ensure your attic is clean and ready for replacing blown-in insulation with modern, efficient materials.
- Inspect the Attic Space to Check for Remaining Debris. Ensure all insulation materials are removed and the area is free from contaminants. Before you Repair Damages. Address any structural issues caused by water damage or pests to prevent future problems.
Cost Factors and Budget Planning For Removal of Blown-in Insulation
Understanding the various factors that influence the cost to re-insulate attic is essential for effective budget planning. The following table outlines the key elements that can impact your overall expenses when removing blown-in insulation from attic spaces.
| Factor | Impact on Cost |
|---|---|
| Geographical Location | Labor rates and disposal fees vary by state. For example, California and New York have higher costs compared to Midwestern states like Ohio or Kansas. |
| Attic Size | Larger attics require more materials and labor, increasing the insulation removal cost per square foot. A 2,000 sq ft attic can cost significantly more than a 500 sq ft space. |
| Type of Insulation Material | Spray foam insulation is more expensive to remove than fiberglass batt or cellulose insulation due to the need for specialized tools and safety measures. |
| Condition of Existing Insulation | Water damage, mold growth, or the presence of asbestos can add $500–$2,000 to the overall cost due to additional safety precautions and disposal requirements. |
| Accessibility and Attic Construction | Complex attic constructions like cathedral ceilings or numerous open cavities necessitate more labor and specialized equipment, increasing costs by 10-20%. |
| Disposal and Recycling Fees | Proper disposal of old insulation, especially hazardous materials like asbestos, can incur higher fees. Recycling options may offer cost savings but require coordination with specialized facilities. |
| Climate and Regional Factors | In humid states like Florida and Louisiana, moisture damage and mold growth are more prevalent, raising insulation removal costs by 15-25%. |
| DIY vs. Professional Services | DIY removal may save on labor costs but can lead to incomplete removal and potential health hazards. Professional services typically range from $1.50 to $4 per square foot, including labor, equipment, and disposal. |
Properly accounting for these factors can help you create a realistic budget for your insulation removal and replacement project, ensuring you achieve optimal energy efficiency and cost savings in the long run.
Frequently Asked Questions (FAQs)
What is the best way to remove blown-in insulation from an attic?
The best way to remove blown-in insulation is by using a commercial insulation vacuum for efficient insulation extraction, ensuring thorough attic cleaning and minimizing contaminant exposure.
How much does it cost to remove and replace blown-in insulation from an attic?
The cost to remove old insulation from an attic typically ranges from $1 to $4 per square foot, depending on the insulation type and whether you choose DIY or professional insulation removal and installation services.
Can I safely remove blown-in insulation from my attic by myself?
While DIY attic insulation removal is possible, it poses health risks from fiberglass and contaminants, making it safer and more effective to hire a professional insulation contractor equipped with proper protective gear.
What tools are needed for blowing in insulation removal from attic?
Essential tools for blow-in insulation removal include a commercial vacuum, shovels, hoses, heavy-duty trash bags, and appropriate protective gear to ensure safe and efficient insulation extraction.
How does removing blown-in insulation improve energy efficiency?
Removing blown-in insulation allows for the installation of higher R-value materials like cellulose insulation or spray foam insulation, which significantly enhances energy efficiency and reduces utility bills.


